MELTING LEFTOVER PLA
Dedicated lil oven to melt PLA into charms
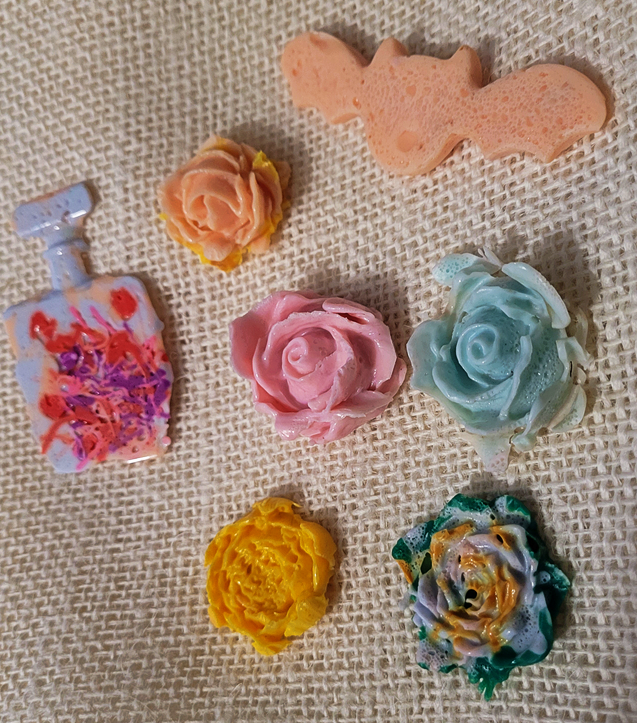
As shared on my Insta and Masto, I've successfully 'baked' PLA down into silicone molds. After reading more (specifically in the subreddit r/3DPrinting so big thank you to that forum) I decided I would not make this a thing with my regular oven (no matter how many cool cute silicone molds I'd bought for it already) because melting plastic and cooking food should perhaps not be done in the same oven. In hindsight this is common sense, but for a little while I was like "well whatever I'm already riddled with microplastics" which for the record is Not a Great TakeTM.
So, melting filament took a backseat. I didn't have a spare oven anywhere and I didn't know where to find one. Also, I didn't really have any filament colors I was excited to reuse or repurpose into silicone molds.
Enter these 6 macaron pastel filament reels by Pangda and this super cute minty $50 Americana oven on Amazon.
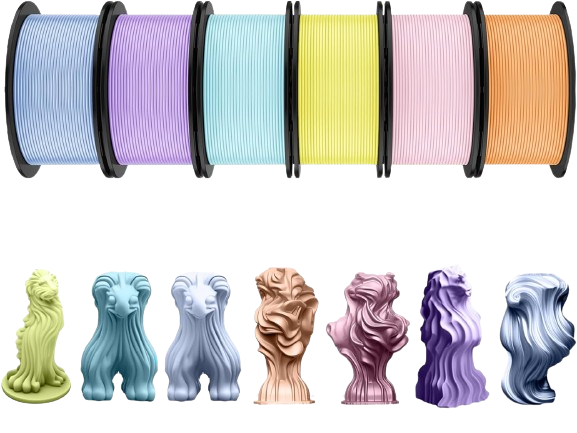

The macaron colors are adorable, and the oven is so little and tiny and adorable. I can't handle it I'm SO EXCITED! Here are the results!
KAWAII CELL PHONE CASE
I love using this stuff!
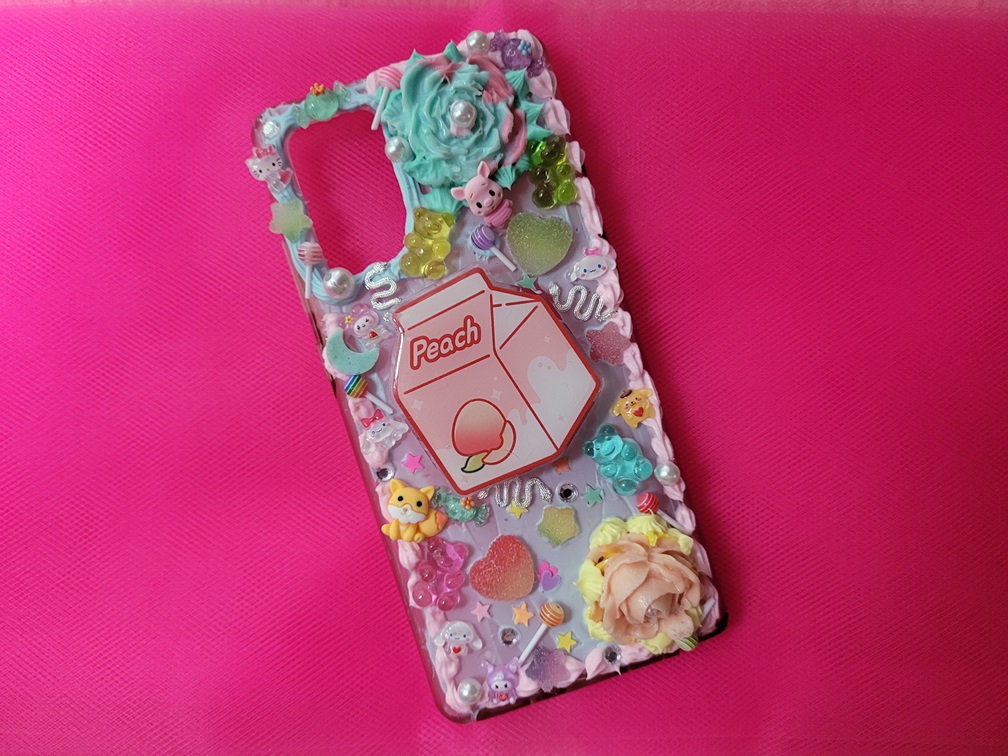
It's called "cream simulation glue" and various colors and palettes are on Amazon - I bought the pastels because I'm a fiend for pastels. These creams hold everything together.
Start with painter's tape around the edges and pick a 'background color' for the entire case. In this instance, I chose a pastel blue. Using an icing spatula tool (I also use this as a 3D print scraper, and I think a similar tool can be used for smoothing wet clay), spread it. Add enough so the background color is decently opaque.
Next, add decorations! I have accumulated many flat-backed resin charms for various reasons (slime, nails, jewelry-making, etc.) I also have leftover PLA melts. In my design, those two flowers - blue at the top, peach at the bottom - are recycled PLA. Nifty!
Keep in mind you need space to make an absolute mess:
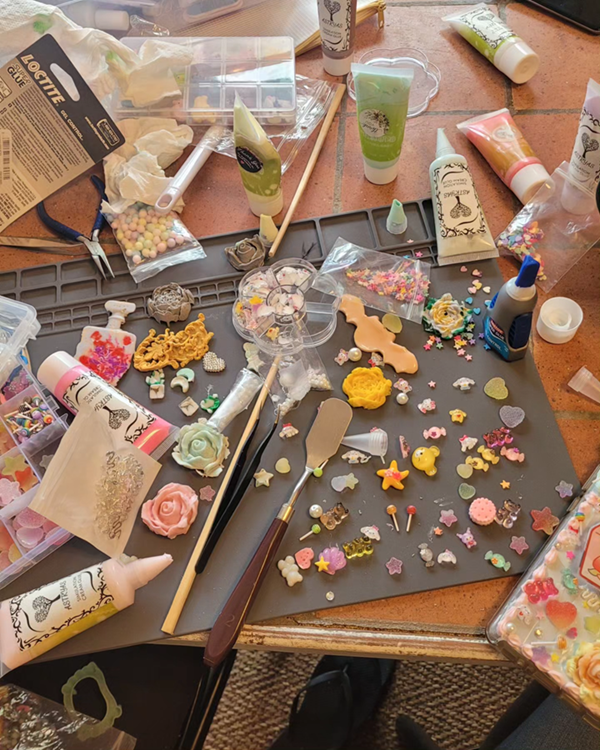
After decorating (which is the most fun and challenging bit), let everything dry. It takes around 12-24 hours in my experience.
The next trick, which is a big recent discovery: add varnish. I used DecoArt's Triple Thick Gloss Glaze Varnish and nothing has popped off in the month since I've made this. It has yellowed a bit where I really slopped it on, so be careful to add multiple thin coats instead of what I did. But the excitement here is that every glossy sealant I've found recommended has been an aerosol, which is messy as heck, dangerous for low-ventilated areas, not easily stored, and for small items and miniatures just not at all worth the hassle. So I started looking for paint-on stuff and finally found this solution. Chuffed af abt it
THE SEPTEMBER HOUSE BY CARISSA ORLANDO
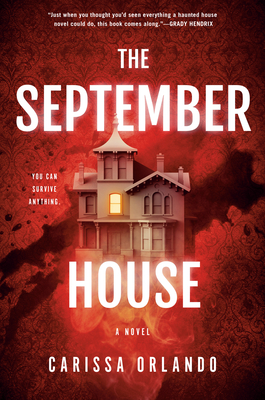
Read this for the ending
This story began slow with a character that seemed both pleasantly surfacey and yet baffling. She made her choices out of a firm sense of rightness, a deep respect for rules, personal disclipline, all stemming from
My advice: stick it out.
Slowly but surely, things slide into focus and truths come to light that end up explaining so many different why's that you'd been wondering. I loved it. It took awhile, but as I delved further into these characters, they became more and more understandable and endearing to me.
OH ALSO STAY FOR THE ENDING. The ending makes everything so worth it. I absolutely adored the ending - it was brutal and satisfying and graphic and emotional. Highly recommend this book!